Meng German A7V Tank (Krupp) (2018)

Bill Plunk
Posts: 1245
Joined: Wed Sep 28, 2022 10:18 pm

WIP 07-26-2018

Post by Bill Plunk »

The next step in the weathering process proved to be even more time-intensive than I expected it would be. Normally, the application of a pin-wash is a single day exercise. This vehicle, however, is not normal in any respect when it comes to all the raised detail and rivets that are present.

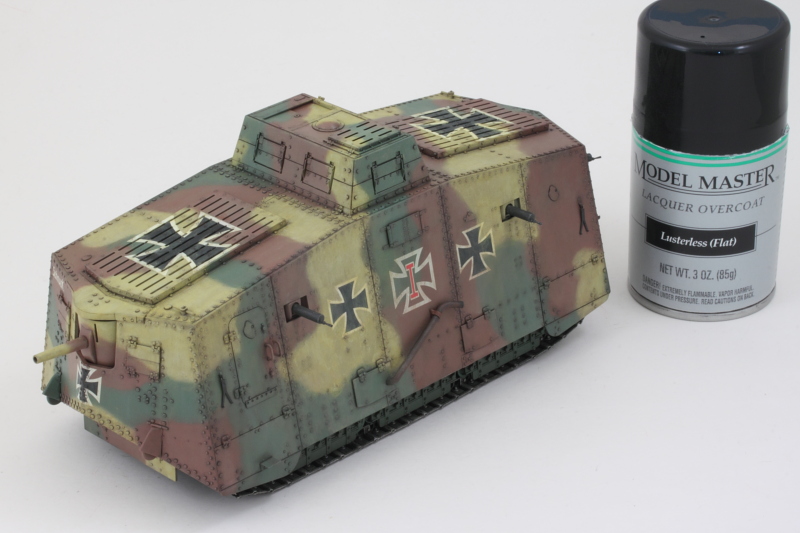
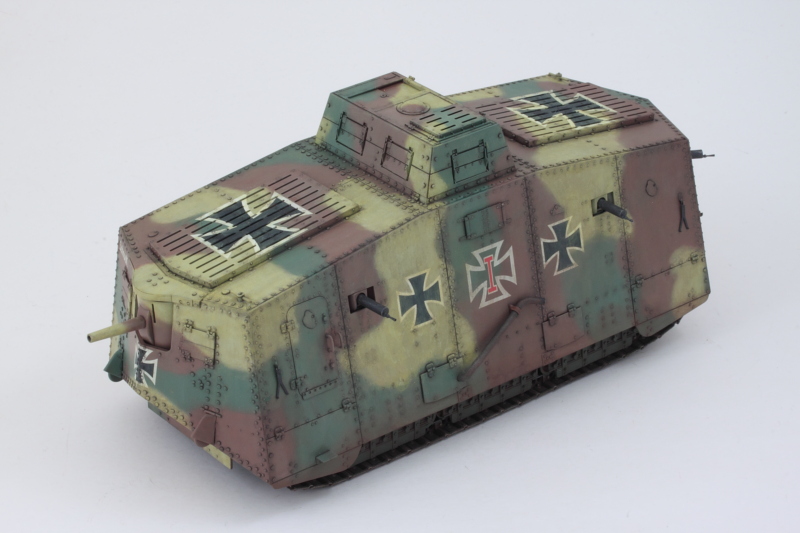
I mixed my own wash using Model Master enamel Burnt Umber with about 90% thinner. I applied the wash with a pointed 10/0 brush to allow for more control and targeted dosing in the various places.

Image

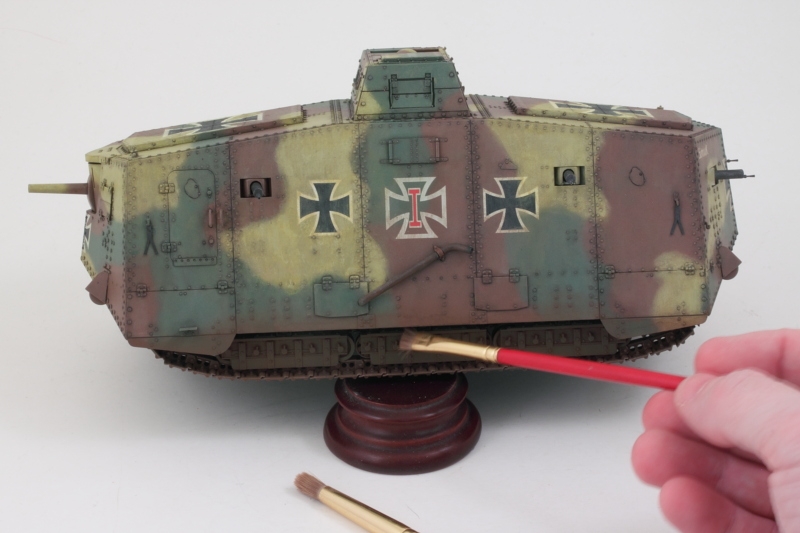
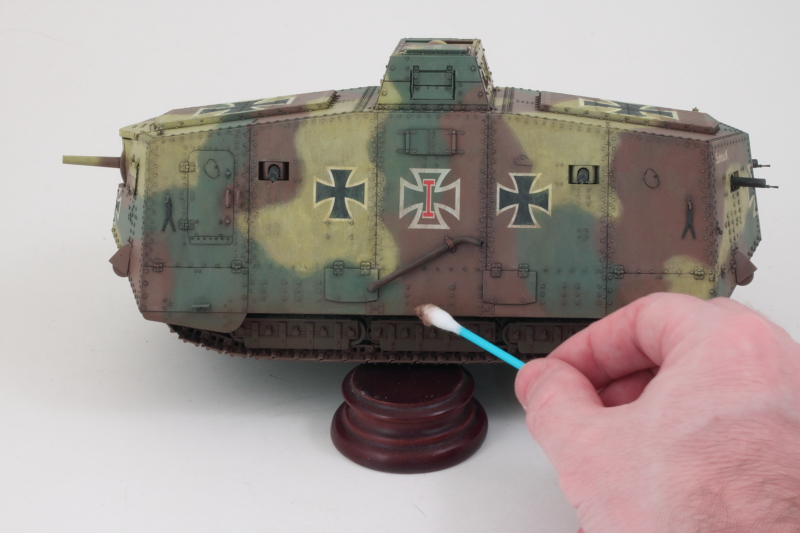
This process involves a lot of thinner fumes between the wash itself and the next step that tightens it up and removed the excess. That means a lot of time with the breather mask on! Using the same 10/0 brush and clean thinner, I combined an Optivisor with the breather mask so I could see up close what was happening with all the detail. I had to set a timer so I could remember to take frequent breaks and spread out the work over several days as well.

Image

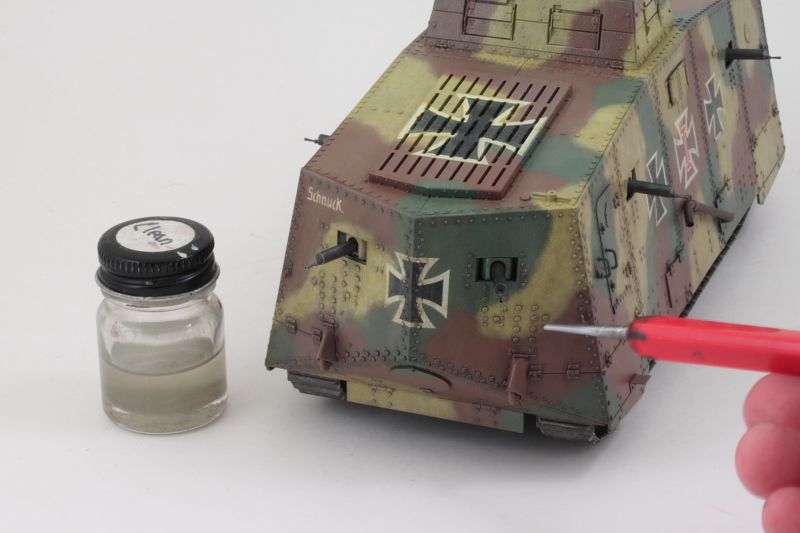
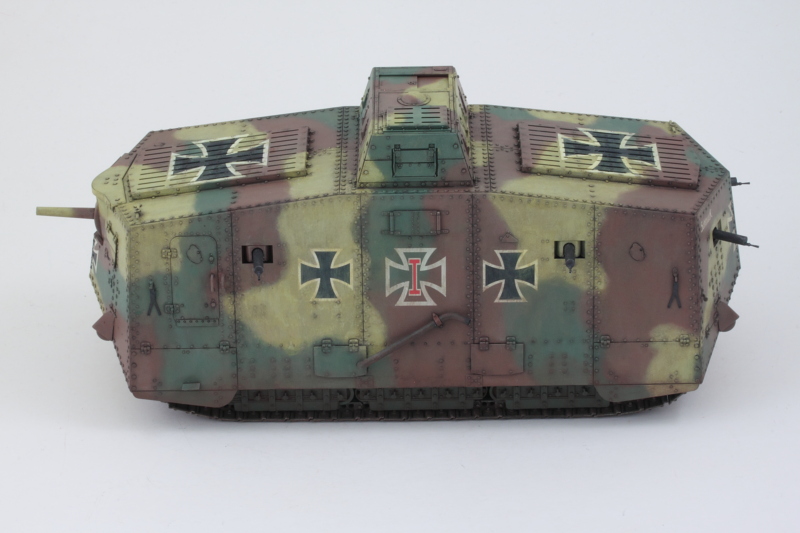
You don't realize just how many rivets there are until you do a process like this (or try to replace them with something else I suppose!). Just one long side of the hull took 2.5 hours to go through the process. In the end, it took a total of about 10 hours to do it all.

Image

Image

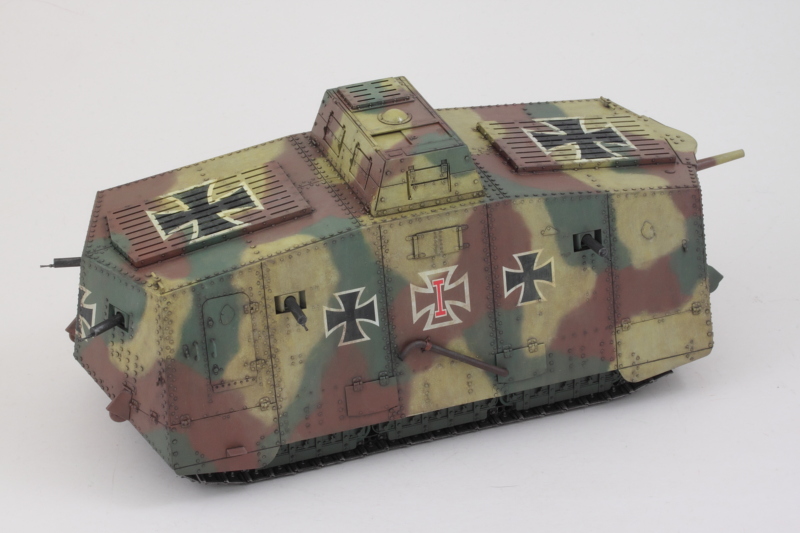
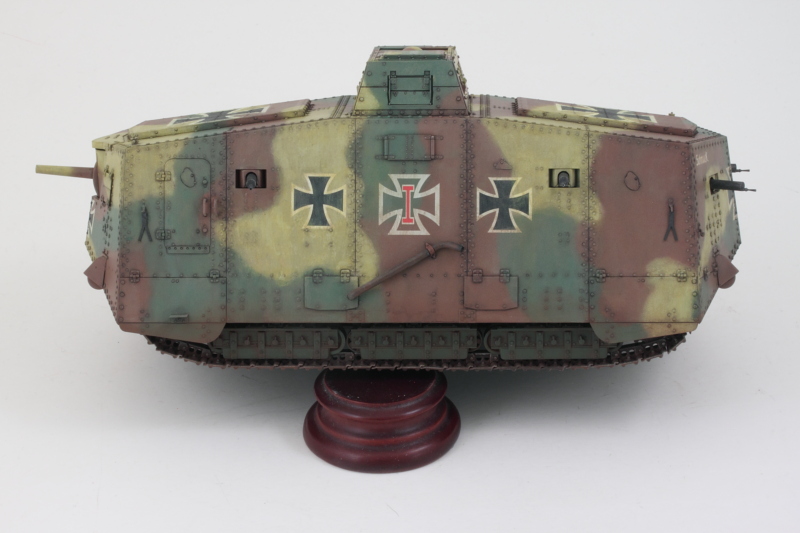
I'll let that sit for a bit so I can look it over with an unbiased eye to determine if there are any further adjustments/changes I want to make. Right now all I can see are rivets, rivets, and more rivets! :)
Bill Plunk
Posts: 1245
Joined: Wed Sep 28, 2022 10:18 pm

Completion 07-28-2018

Post by Bill Plunk »

The final lap is always a fun one and that's where the build headed into the last couple of days. After making some fine adjustments here and there after the pin wash, I installed the final little pieces and knocked down the remaining gloss from the Future and sealed up the wash work with a coat of MM Lusterless Flat. I deliberately decided not to fit the tow cables to the roof vents as I looked their look too much as-is.

Image

The last hurdle to clear is weathering the running gear and tracks. For this task, I chose Mig Dark Mud pigments. I applied the pigments as a wet mixture using ordinary tap water with a drop of liquid dish soap added to break the surface tension and allow it to flow evenly.

Image

Once it had air-dried, I put on a sanding mask to avoid inhaling the fine pigment dust and set to work removing excess pigment using a series of stiff-bristled brushes.

Image

Further adjustments were made using cotton swabs, both wet and dry as needed.

Image

After all that, most of the pigment gets removed but what remains is just right in the spots where it should be.

Image

That meant it was time for the walk-arounds!

Image

Image

Image

Image

Image

Image
Bill Plunk
Posts: 1245
Joined: Wed Sep 28, 2022 10:18 pm

Re: Meng German A7V Tank (Krupp) (2018) Publication November 2018

Post by Bill Plunk »

This build has been featured in the Great War Scale Modelling special Holiday 2018 Issue of FineScale Modeling.

Image

Image
Post Reply