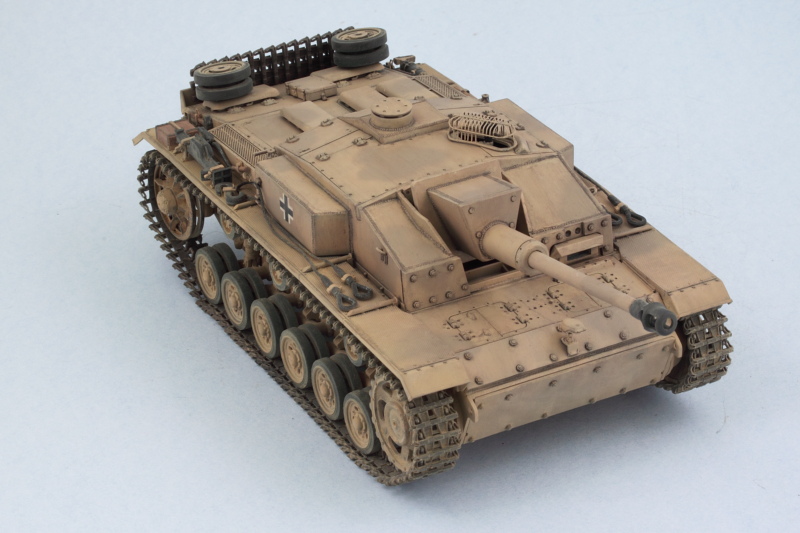
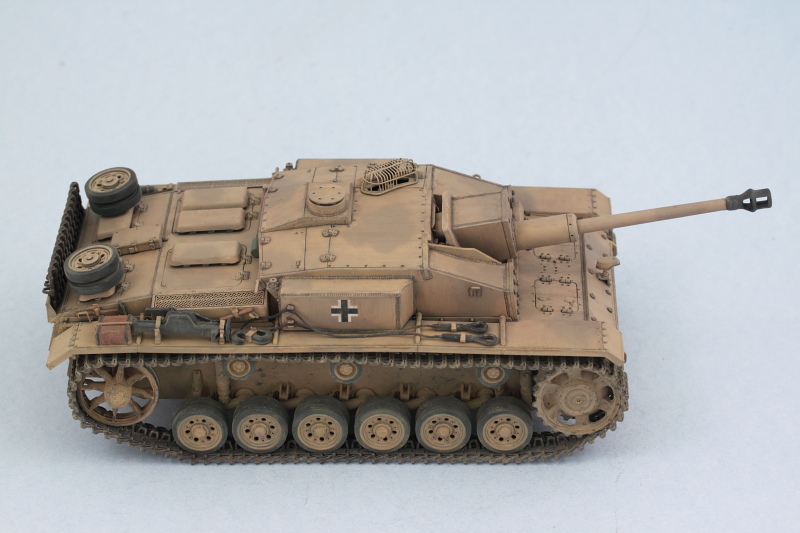
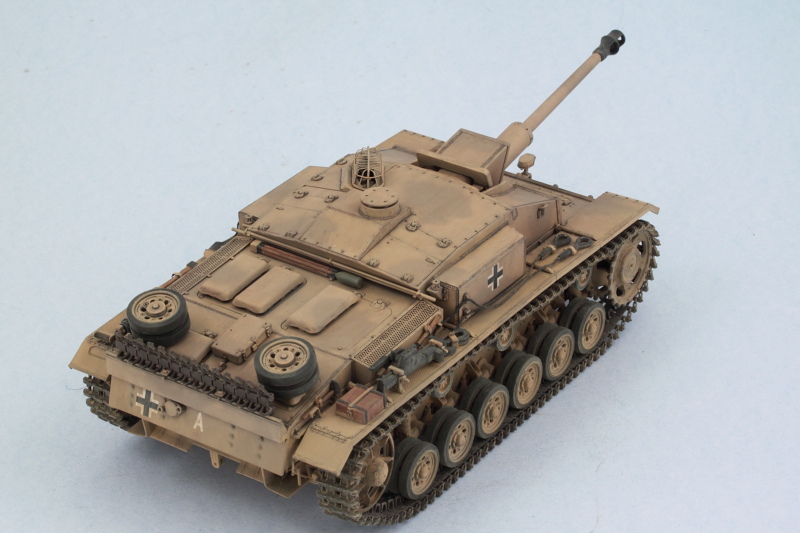
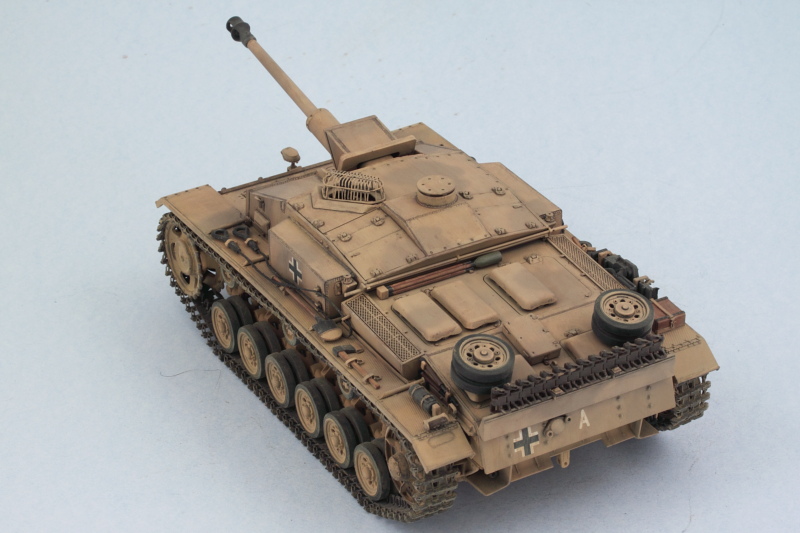
Dragon StuG III Ausf. F/8 Late Production (2014)

Bill Plunk
Posts: 1245
Joined: Wed Sep 28, 2022 10:18 pm

WIP 07-29-2014

Post by Bill Plunk »

Today's efforts took a little bit of a detour...I had planned to start on the filters and weathering but when I started in on the front left fender, the paint started to lift...so that means I either a) the Future didn't fully cure since we've had some high humidity due to some rain storms or b) I didn't get it on solid enough around the raised pattern or some combination of the two! So after a momentary panic, the colors were re-sprayed over the affected area and it will get some time to fully cure for sure before work continues.

So the detour instead led me to work on the tracks. These were airbrushed with MM Burnt Umber for their base coat, then heavily dry-brushed with MM Steel. Last but not least they got a wash of Raw Umber to prep them for later pigment weathering.

Image

The spare track run for the rear tailgate was given the same treatment but also got some extra attention in the form of an MM Rust wash followed by various rust-colored artist pastels. The tailgate has a lip that runs around the top edge that was designed to match up with retaining pins that held the run in place. Dragon didn't include those in the kit, so I scratched up a pair using some thin sheet styrene and some 0.5mm diameter solder.

Image

Fingers crossed that round 2 with the Future/weathering goes according to plan. ;)
Bill Plunk
Posts: 1245
Joined: Wed Sep 28, 2022 10:18 pm

WIP 07-30-2014

Post by Bill Plunk »

All the stars aligned today so I was able to start in on the weathering. First step was an overall wash of thinned MM enamel Panzer Schwarzgrau. Normally I would use Raw Umber in this step but since the colors are so light to begin with, I used the gray instead to avoid overpowering the scheme.

Image

Next came the dot filters. I used Raw Sienna and Flat White and blended the dots using a square tip shader/blender brush lightly dampened with thinner. Since the enamel dots will dry quicker than oils, I worked in small sections at a time progressing from the front of the vehicle to the rear in stages.

Image

Image

After a few hours, the whole vehicle from the fenders upward got the filter treatment. The lower hull and suspension received only the Panzer Schwarzgrau wash since the pigment weathering will deal with those areas later.

Image

Image

Pin wash will come next to help pop out the details a bit more.
Bill Plunk
Posts: 1245
Joined: Wed Sep 28, 2022 10:18 pm

WIP 07-31-2014

Post by Bill Plunk »

Next step in the weathering process is the pin wash to bring out the details. I used a highly thinned mix of MM enamel Burnt Umber and a fine point 10/0 brush to apply it. Then used the same brush and some clean thinner and cleaned up the excess, fine tuned it here and there, etc. Takes some time to pull it off but worth it.

Image

Image

Will let that sit overnight and check it with 'fresh eyes' to see if there's any additional points/adjustments that need attention before moving on to the pigment weathering.
Bill Plunk
Posts: 1245
Joined: Wed Sep 28, 2022 10:18 pm

WIP 08-01-2014

Post by Bill Plunk »

Got all the pigment weathering done today. The first step was to seal in all the previous weathering work with some Testors MM Lusterles Flat in the spray can.

Image

I used Mig Productions Gulf War Sand and applied it as a wet mixture first to the lower hull and suspension. Adding a drop of liquid dish washing soap to ordinary tap water breaks the surface tension and allows it to flow easily. Left to air dry, it looks like a mess at first but this is just a foundation.

Image

Using stiff bristled brushes to remove the excess, further adjustments were done with some dry q-tips as well to get the look I was after.

Image

The tracks received the same wet pigment treatment followed by stiff brushes. One of the advantages of workable tracks is the flexibility in weathering prior to installation.

Image

Tracks were then installed to both sides and the sprockets and idlers permanently glued in place to create the necessary sag/tension on both sides.

Image

Image

Just a few small details remain before this one is all done!
Bill Plunk
Posts: 1245
Joined: Wed Sep 28, 2022 10:18 pm

Completion 08-02-2014

Post by Bill Plunk »

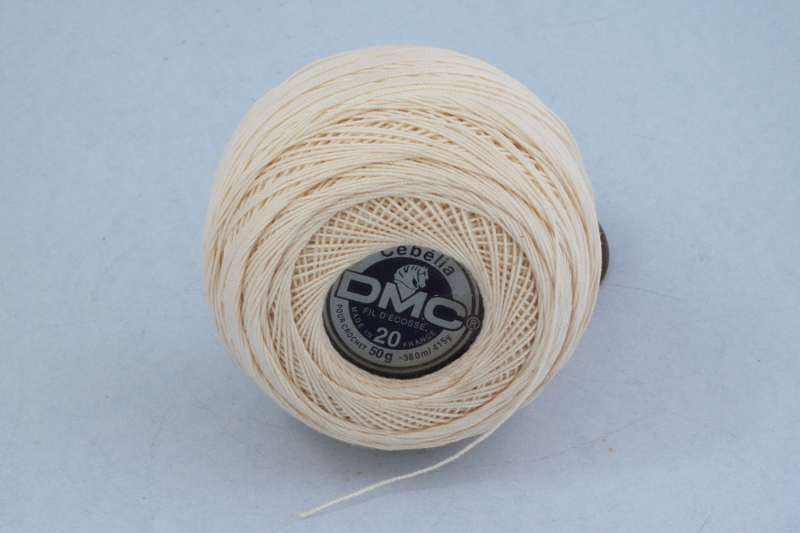
One of the last remaining details that I deliberately left to the very end was the tow cables. The Dragon kit supplies some braided steel wire for this but it's extremely stiff/stubborn to work with. I replaced it with my go-to substitute, crochet rope/thread.
Image

This stuff is very cheap at any Michael's/Hobby Lobby and a single roll will last a very, very long time. It's also handy for tie-down ropes for stowage. For tow cables, I cut a long length from the spool and then dip it into some Future so it will stiffen and take paint better. It also prevents any 'fuzzing' of the line as well. Once it dries, simply cut to the length needed, in this case 110mm per cable, and attach with CA glue to the cable ends.

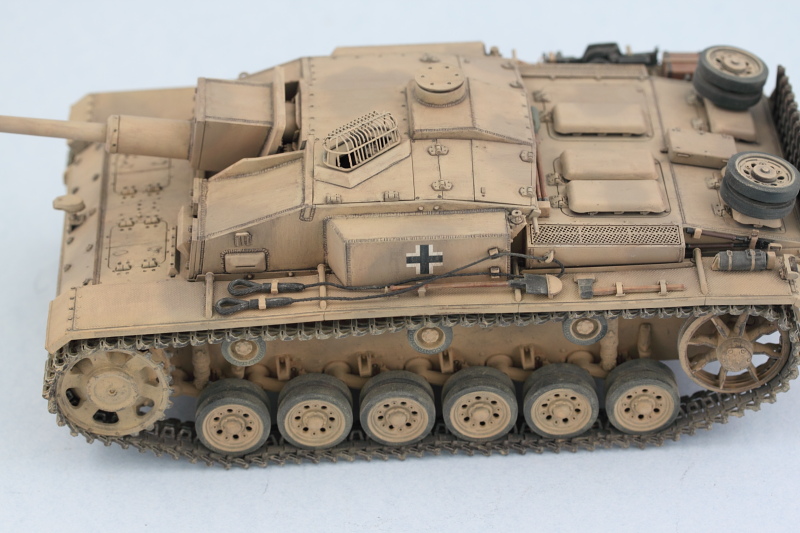
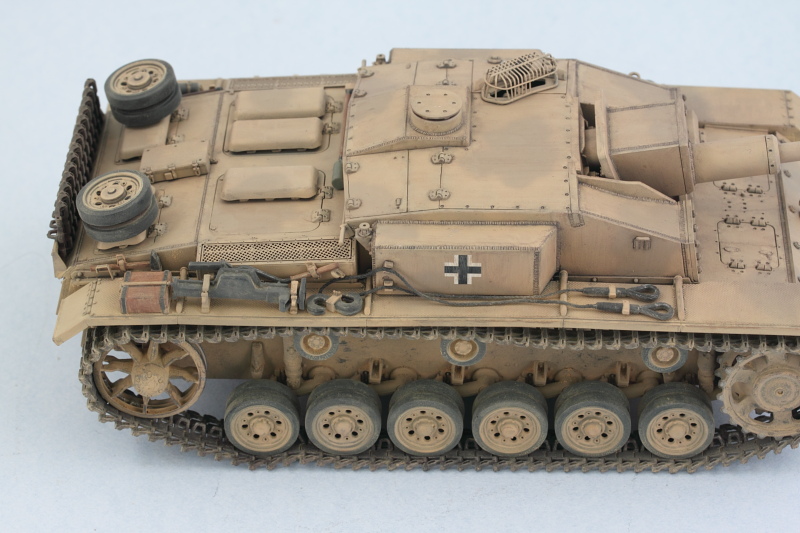
Since the cables don't have any real clamps at the loop end, only the 'guides' on the sponson sides, the cables always appear sloppy in the reference photos of these vehicles, so I used the thread's flexibility to my advantage and draped the cables accordingly before carefully gluing them down in the sponson guides. That's why these were saved to the very end, so they could interact properly with all the other stuff on the fenders.
Image

Image

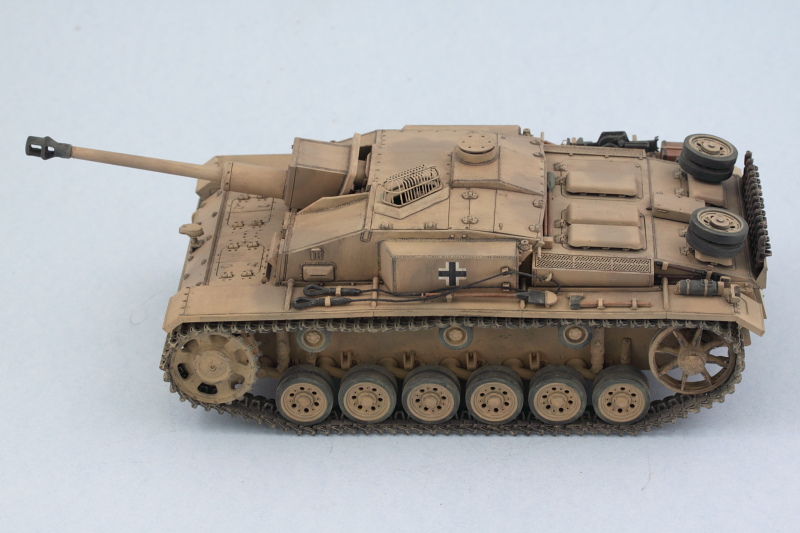
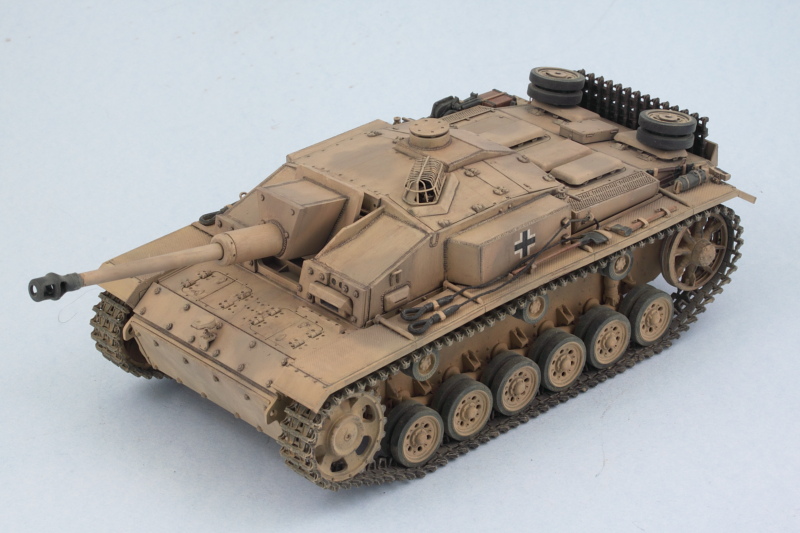
Once in place, the cables were lightly dusted with pigments to blend them in with the rest of the vehicle. The final little detail was the install of the rear Notek convoy light, this was provided in the kit as a clear cylinder that I painted with Tamiya Clear Smoke and installed into its holder on the rear fender. Then it was time for the walk-arounds to make sure I hadn't missed anything or make any last minute adjustments.
Image

Image

Image

Image

Image

Image
Post Reply