Dragon Sdkfz 250/1 Neu Premium Edition (2008)

Bill Plunk
Posts: 1245
Joined: Wed Sep 28, 2022 10:18 pm

WIP 01-12-2008

Post by Bill Plunk »

Started off today by laying down a coat of Future by airbrush, let that set for an hour or so, then applied the decal markings. The markings for my choice of vehicle were simple and no license plates required, just a pair of balkenkreuze and the vehicle numbers. These were given a dose of Solvaset to get them to snug down tight and then another coat of Future to seal them from the weathering process.

Image

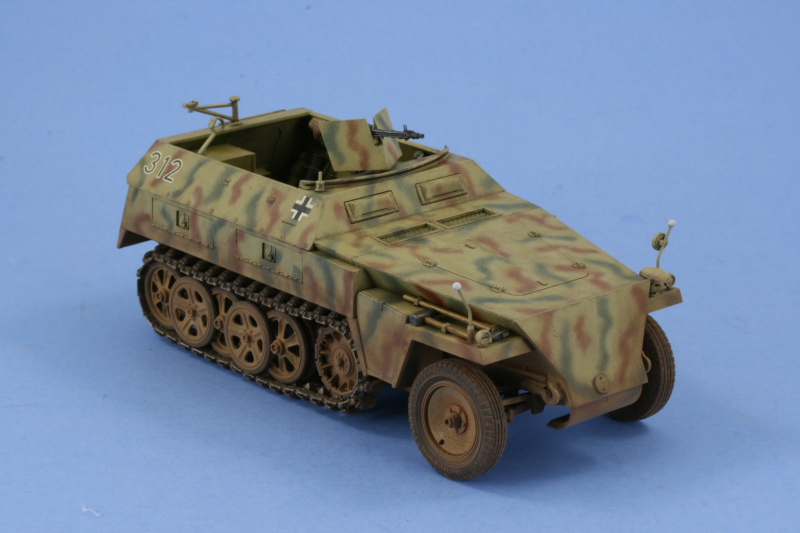
Then the weathering was applied in the form of an overall wash of Raw Umber followed by dot filters of Raw Sienna and lightened Dunkelgelb to add some variation.

Image

The final step was a pin wash of Burnt Umber to all the raised detail and the suspension and then everything was sealed with a coat of Testor's Lusterless Flat in the rattle-can.

Image

Next up will be some pigment treatment.
Bill Plunk
Posts: 1245
Joined: Wed Sep 28, 2022 10:18 pm

Completion 01-13-2008

Post by Bill Plunk »

Work continued today with the weathering of the suspension and running gear but first up I dry-brushed some lightened Dunkelgelb to the hull surfaces to add some additional variation to the previous day's weathering, particularly to the markings. Once that was done, I mixed up a batch of Mig pigments using Dark Mud, African Earth, and Europe Dust in a prescription bottle cap mixed with tap water and applied this wet with a round brush. The pigment/water mixture was allowed to air-dry, which took about an hour or so, and looked like this.

Image

This was then given some attention using various stiff-bristled brushes to remove the excess pigment and get everything looking the way I wanted it to. For the hull sides and main wheel tire sides, I used a moistened q-tip to further remove the pigment and blend it in to the finish.

Image

The tracks were then dry-brushed lightly with Steel to bring out their details a bit more.

Image

A couple of touch-ups here and there and it was off to the photo-booth for the completed photos.

Image

Image

Image

Image

Image

Image
Post Reply