Trumpeter 1/32 Messerschmitt Bf 109F-4/Trop (2014)

Bill Plunk
Posts: 1245
Joined: Wed Sep 28, 2022 10:18 pm

WIP 02-08-2014

Post by Bill Plunk »

Worked on the remaining details in preparation for getting the 109 ready for the markings process which will be a substantial undertaking given the sheer number and size of some of them. First up was dealing with the engine exhausts, these were given a base coat of MM non-buffing Metalizer Gunmetal, lightly dry-brushed with MM enamel Steel, then given a light wash of MM enamel Rust. As the wash was drying, I applied some raw umber artist pastels to give them some rust tones and then followed that up with an application of black artist pastels for exhaust/soot accumulation. The nose MGs were also picked out with non-buffing Gunmetal and a light dry-brushing of Steel along with the screens on the Tropen filter.

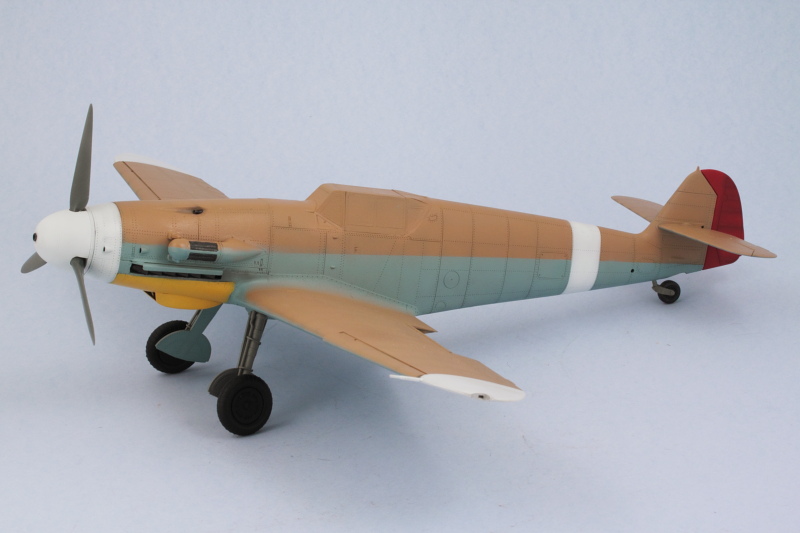
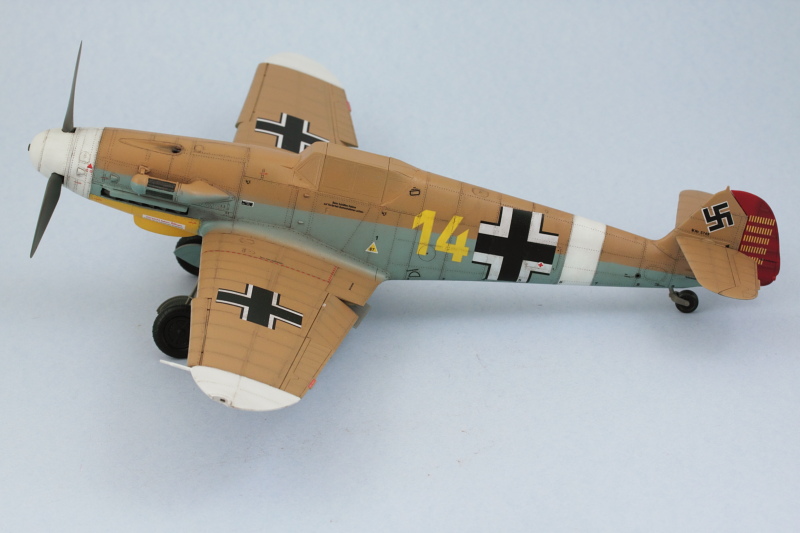
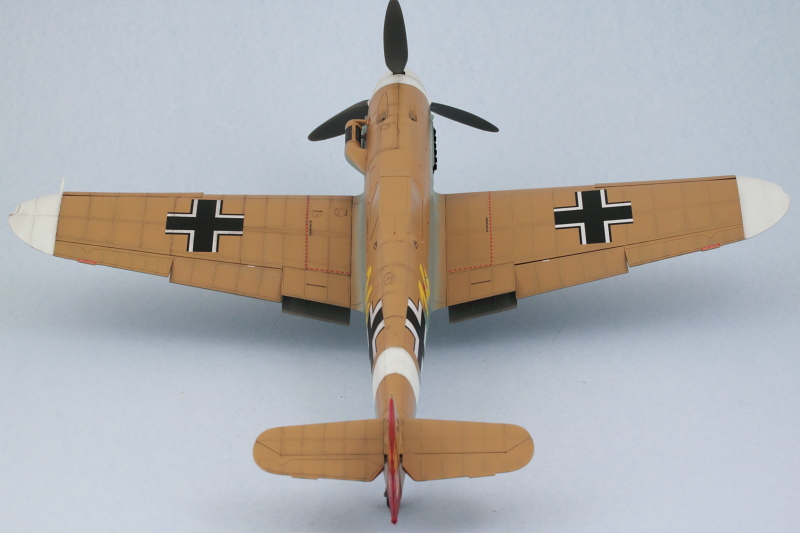
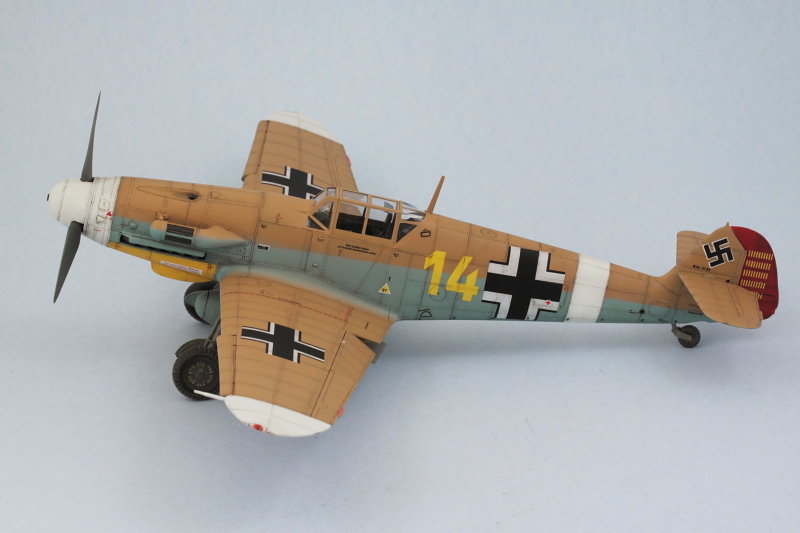
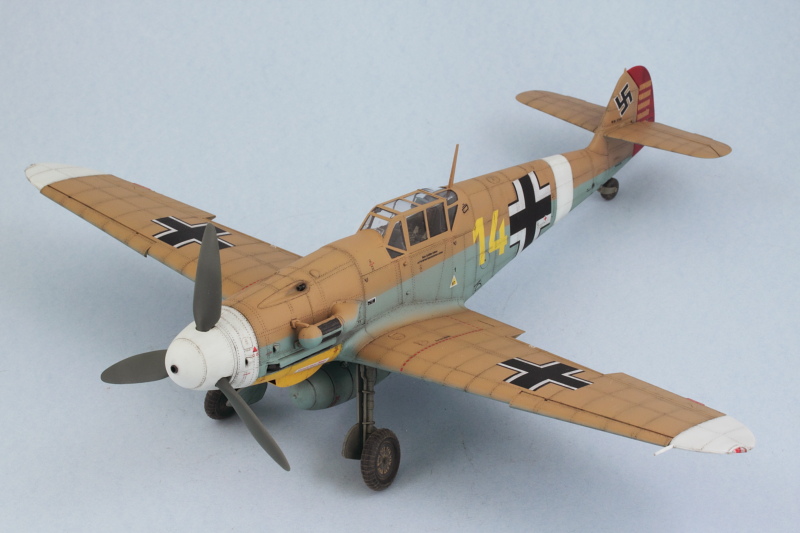
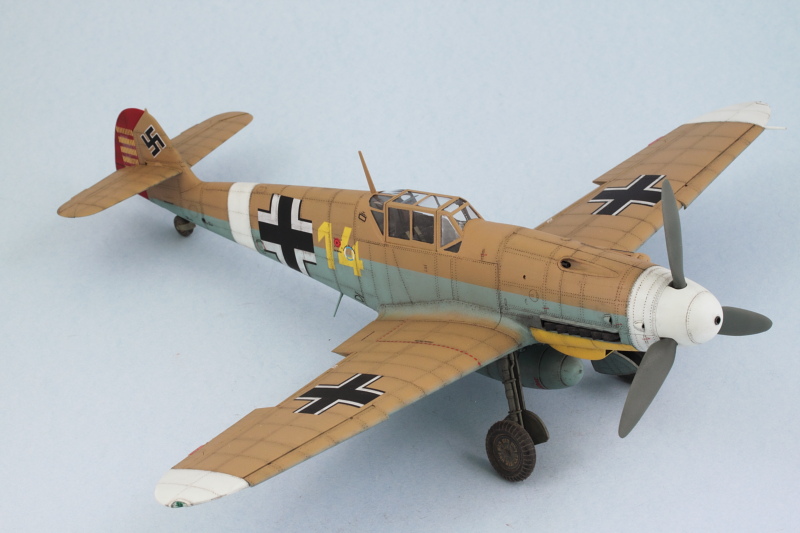
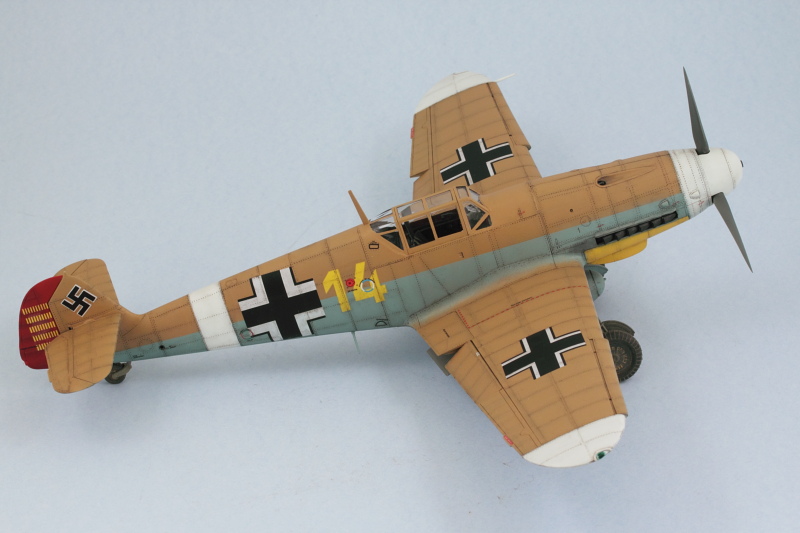
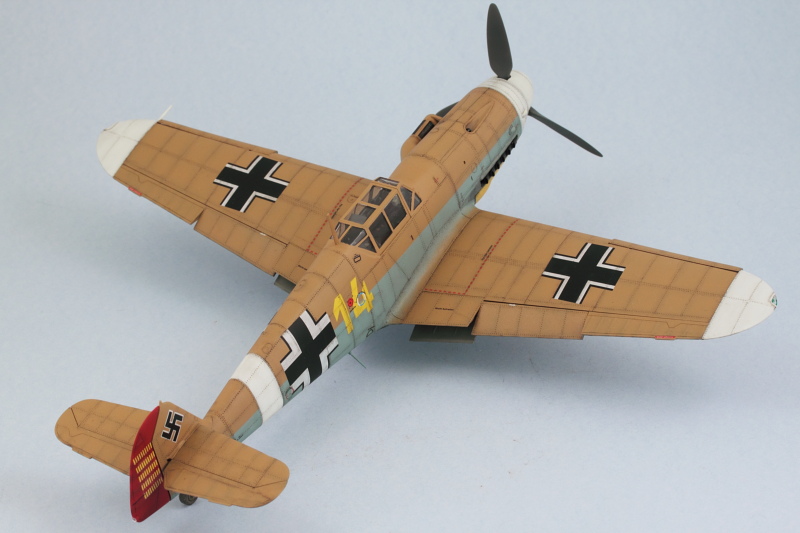
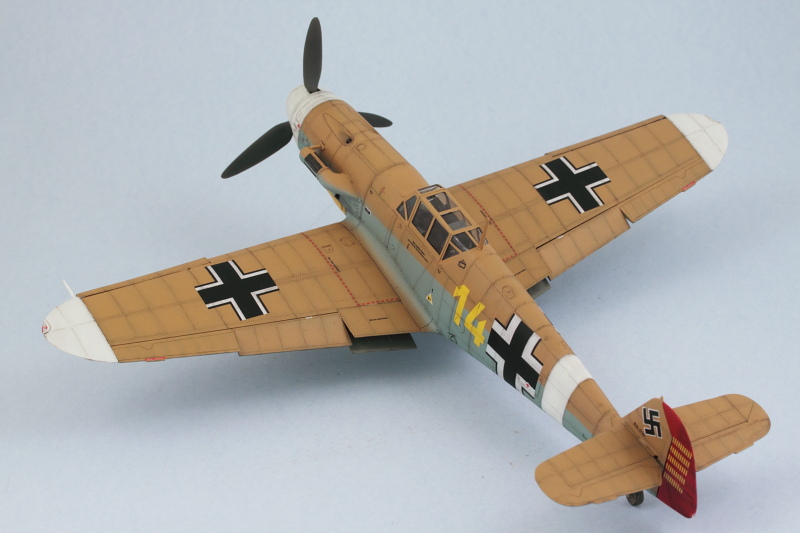
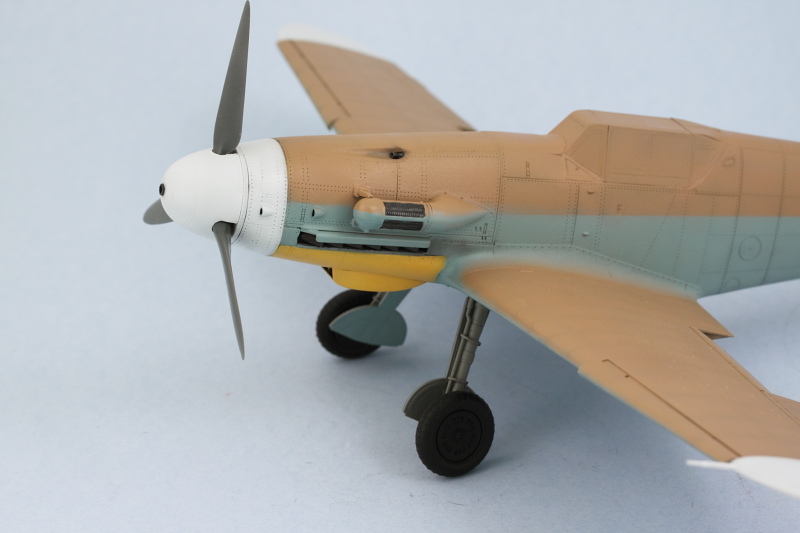
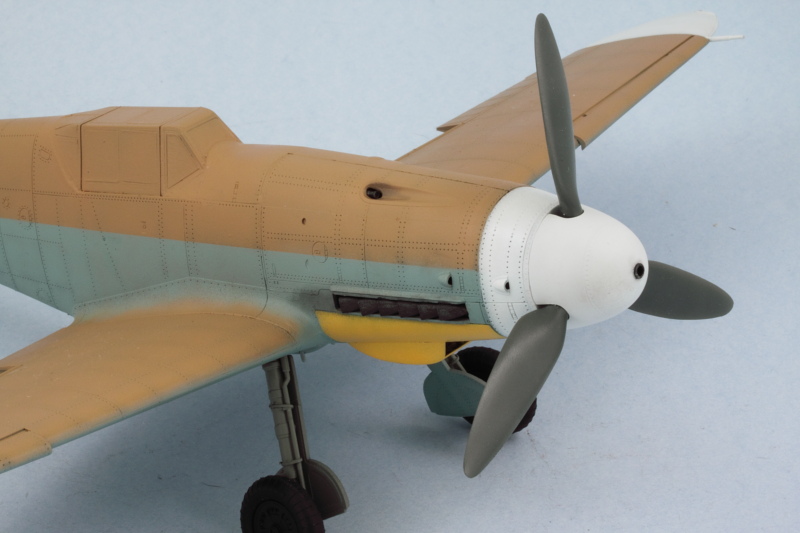
The landing gear was permanently installed along with the gear covers and wheels and set off to the side to set as the weight of the full airframe was causing the legs to bow out towards the front. Once they were solid, I added the propeller and spinner assembly, using finger pressure and combination of regular and liquid glue to get it into alignment with the rest of the fuselage.

Image

Image

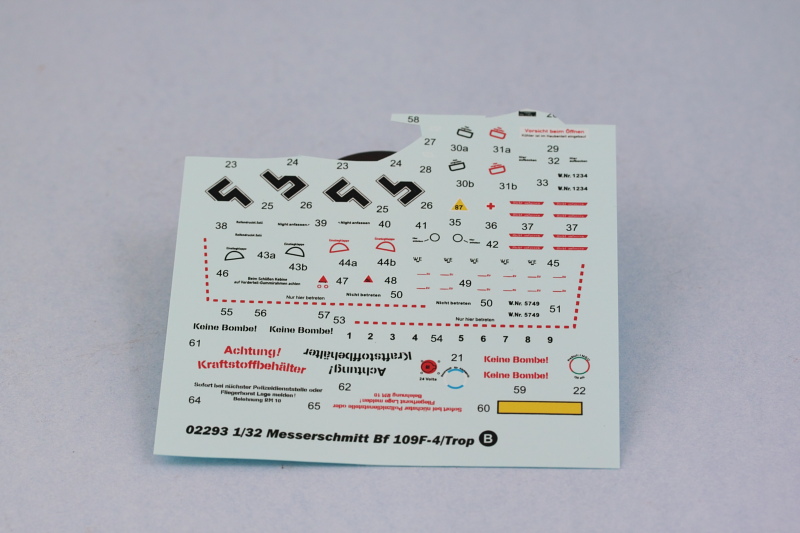
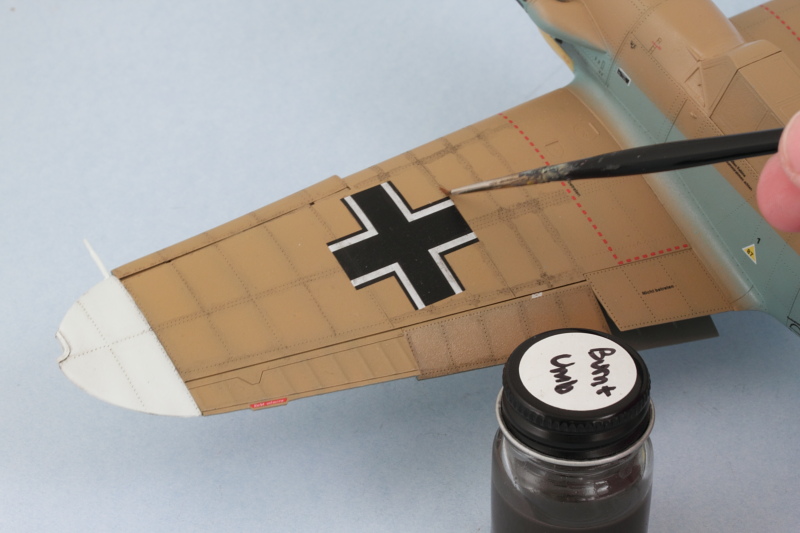
So that the rudder gets sealed up along with the rest of the airframe during the Future application, it is dry-fit and holds its position well due to the friction fit on its mount tab. The Future coat is next, then on to the decals. It's starting to look like a 109 I think!

Image
Bill Plunk
Posts: 1245
Joined: Wed Sep 28, 2022 10:18 pm

WIP 02-09-2014

Post by Bill Plunk »

Decal work started today. I decided to split it up into two processes, the first dealing with the large markings with a second round dealing with all the little tiny details. The belly fuel tank was installed as I decided it was going to be much easier working with it attached vs. separate. Used the airbrush to apply a foundation coat of Future and let that air-dry for about an hour before applying the large markings. I used Solvaset to get them to snug down and the crosses in particular needed multiple doses to get them to conform. The tail swastika's are two part decals thankfully so they weren't too much of a challenge to get them paired up.

Image

Image

Image

And here's what I still have to tackle...and why this will be a multi-session effort! Some of these apply over the large markings in different spots so it's essential those are all set first before tackling the detail markings. Still a lot of fun ahead on this one.

Image
Bill Plunk
Posts: 1245
Joined: Wed Sep 28, 2022 10:18 pm

WIP 02-15-2014

Post by Bill Plunk »

After a good long session at the bench today, the remaining decals were applied. All 50+ of them...or close enough to not matter. Some had to be applied over the larger decals added earlier so that's another reason for needing to break things up into multiple sessions. I moved around the different sections of the fuselage leaving the areas around the cockpit until the end so that I always had a 'handle' to move the model around by as the markings were added. Last but not least the 'not a bomb' and other stencils were added to the belly drop tank. All were treated with Solvaset and tomorrow I'll add a final sealing coat of Future to complete the process once the markings added today have had the chance to fully set up overnight.

Image

Image

Image

Image

Image
Bill Plunk
Posts: 1245
Joined: Wed Sep 28, 2022 10:18 pm

WIP 02-23-2014

Post by Bill Plunk »

I started in on the weathering process today and had to steel myself for a long session given all the rivets and panel lines that are present. I applied a pin wash of thinned MM enamel Burnt Umber with a 10/0 pointed brush and deliberately applied it 'wide' so that it would cover all the rivets. Then I would come back over it with the same brush and clean thinner and fine-tune it to get a tighter result.

Image

Working in small sections at a time, this process was repeated several times working from the wing inboard to the fuselage. Given the high thinner exposure, I wore a breather mask the whole time so that required some frequent breaks as well. After a few hours I managed to get the left side wing, fuselage, and horizontal stabilizer done on their top sides. The belly tank popped off during handling so that will get re-attached later when I'm ready to work on the undersides.

Image

In this shot you can see a 'before/after' comparison with the right side which is still pending its turn for the same treatment. Since Trumpeter molded all that fine detail, I figured it's only right to make it all 'pop' as much as possible!

Image
Bill Plunk
Posts: 1245
Joined: Wed Sep 28, 2022 10:18 pm

WIP 02-26-2014

Post by Bill Plunk »

I've been sneaking in more time on the 109 in small doses as I continue to weather the rivets and panel lines, made for an easier process to complete the rest of the wing, fuselage, and underside surfaces remaining. Definitely glad to have this stage over with!

Image

Image
Bill Plunk
Posts: 1245
Joined: Wed Sep 28, 2022 10:18 pm

Completion 02-27-2014

Post by Bill Plunk »

The moment of truth finally arrived today. After a few minor adjustments to the previous rivet/panel lines, everything was sealed with a coat of Testors Lusterless Flat in the spray can. Then the Eduard masks were carefully removed on the canopy. They did their job pretty well, just a few small areas needed touch up here and there.

Image

Then it was on to some of the remaining details. I used some Mig Gulf War Sand pigments on the landing gear because, well, you can't have a DAK subject without some dust, right? I also installed the wingtip navigation lights using Tamiya Clear Red inside the base of the clear piece for the left wing and Clear Green for the right wing. After the clear parts were installed, I brushed some Future over them to give them a nice clear look.

Image

Last but not least, the main antenna mast and the smaller side antenna were finally installed and painted to match the rest of the aircraft. The small angled antenna in particular is in a tough spot, very easy to knock it off during handling (the voice of experience, I'm very lucky not to have lost it at least half a dozen times!).

Image

That's all she wrote on this one! All done now.

Image

Image

Image

Image

Image

Image
Bill Plunk
Posts: 1245
Joined: Wed Sep 28, 2022 10:18 pm

Publication February 2015

Post by Bill Plunk »

This build is also featured in FineScale Modeler's February 2015 issue

Image

Image
Post Reply