Tamiya Russian Self-Propelled Gun SU-76M (2016)

Bill Plunk
Posts: 1245
Joined: Wed Sep 28, 2022 10:18 pm

WIP 04-08-2016

Post by Bill Plunk »

Today was a 'Darth Vader' day that meant I spent virtually the entire session with the breather mask on. I started in on the weathering process and applied dot filters using a combination of MM enamel Faded Olive Drab and the last 'green' shade that I had mixed up for the hull. The Faded OD was added at about a 2-to-1 ratio so that it would do it's job in terms of fading and adding in some color variation but without going too crazy. It did the trick beautifully and created a nice subtle tonal variation in the process, something that's not so easy to capture in the photos but which should show up a little more pronounced once a flat coat is applied over it.

Image

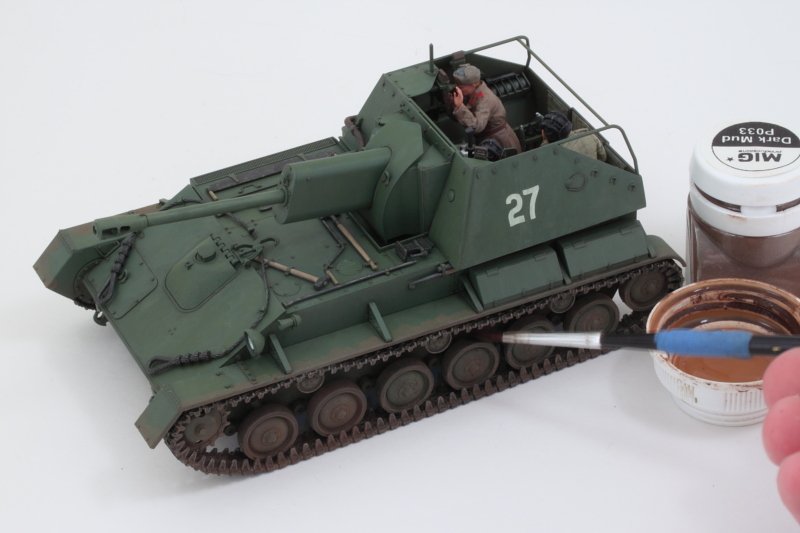
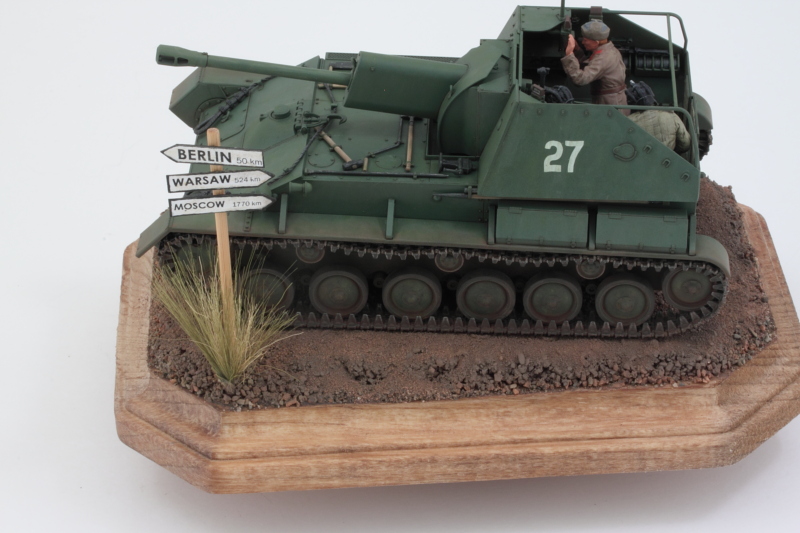
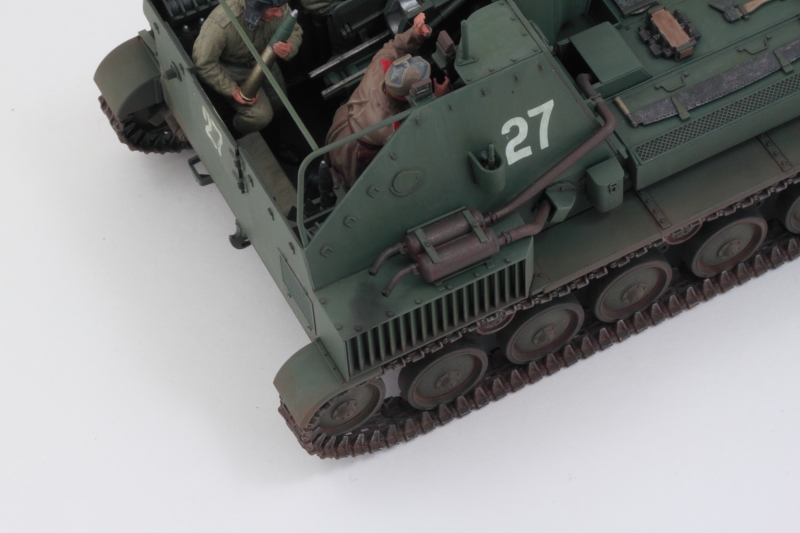
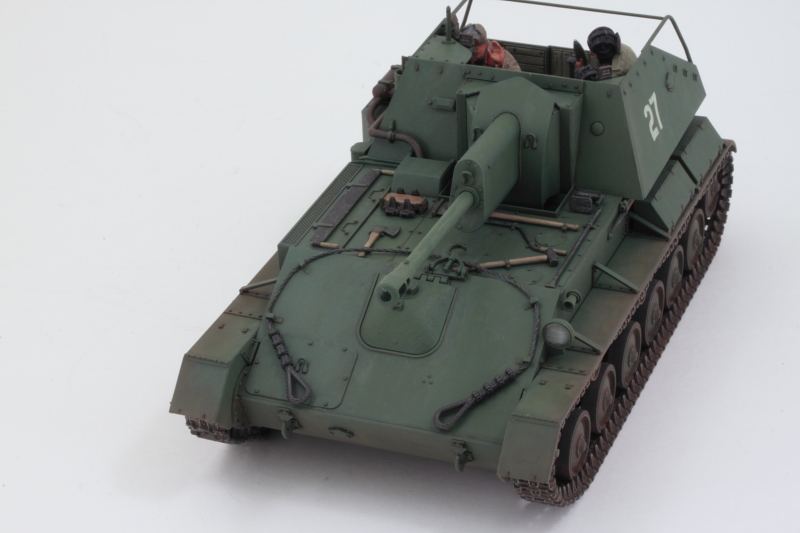
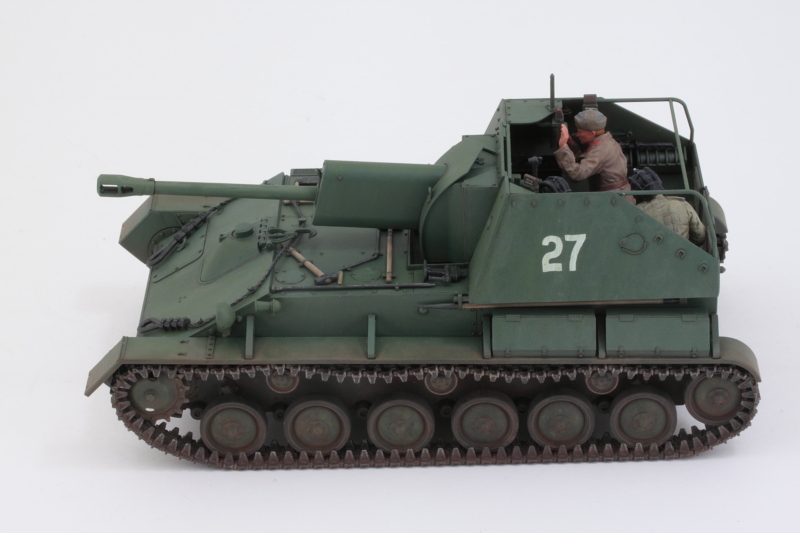
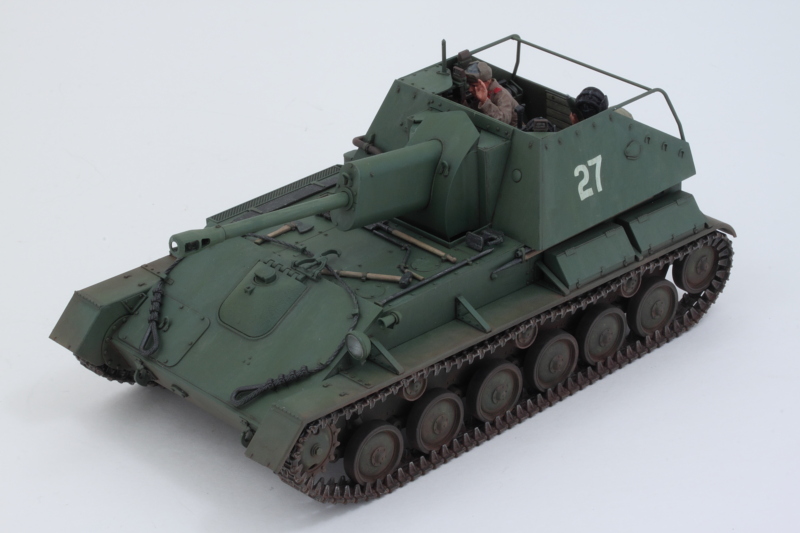
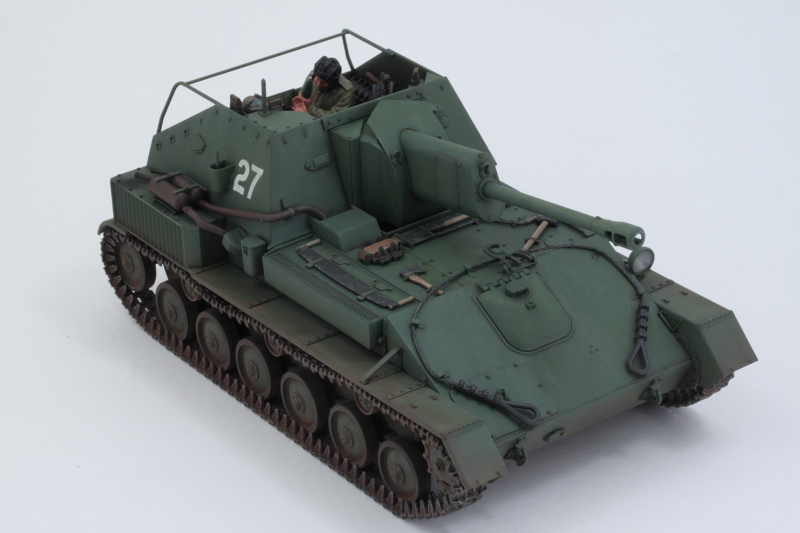
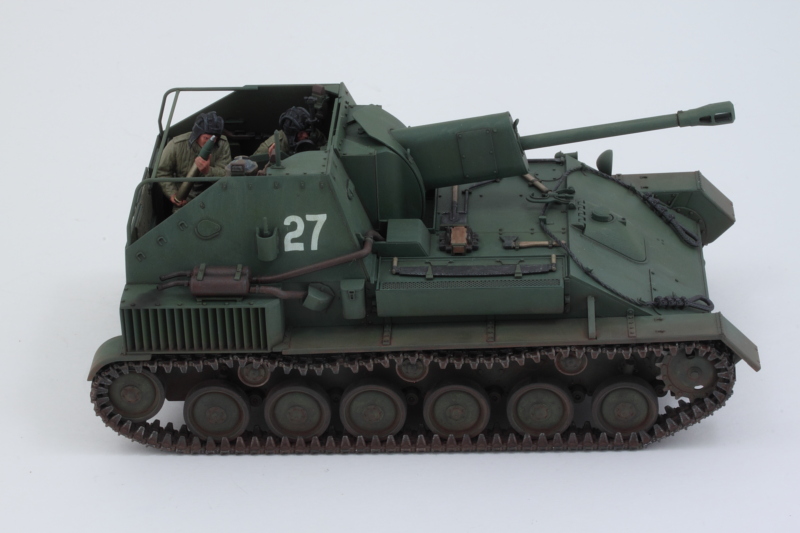
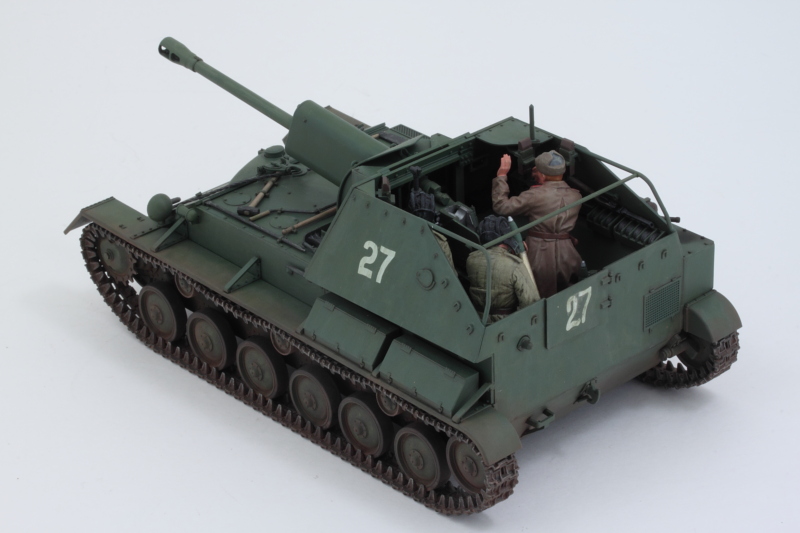
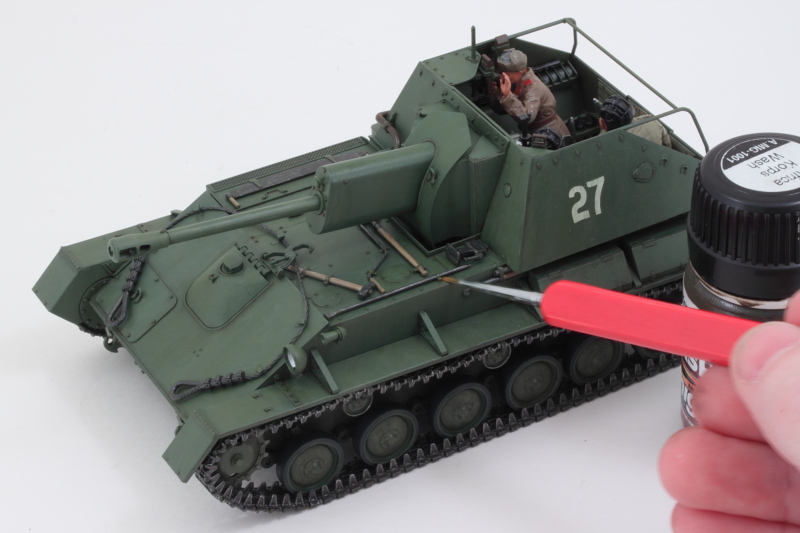
Next up, I added a pin wash using Ammo's Africa Korps Wash and a 10/0 pointed brush. After the initial application, I used the same brush and clean thinner to tighten it up and make adjustments where necessary.

Image

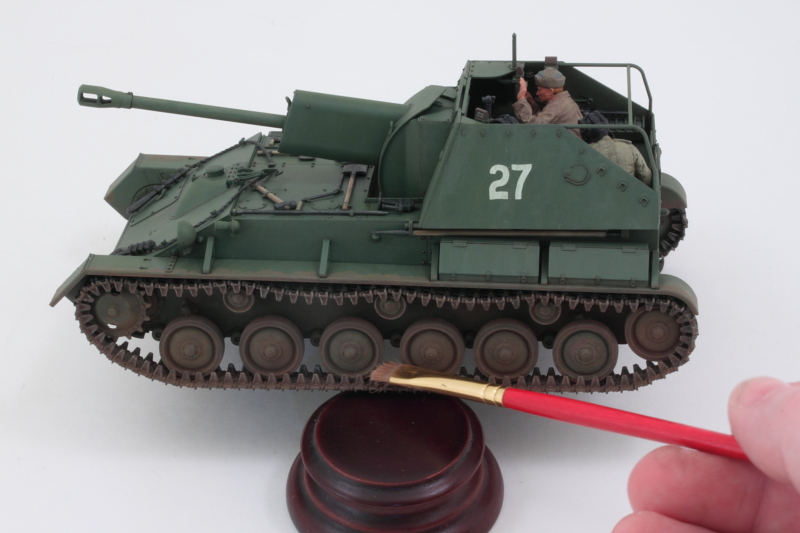
Here's where it stands now, I'll let it sit overnight and look at it with 'fresh eyes' to see if there are any other adjustments I want to make before moving on to the pigment stage.

Image

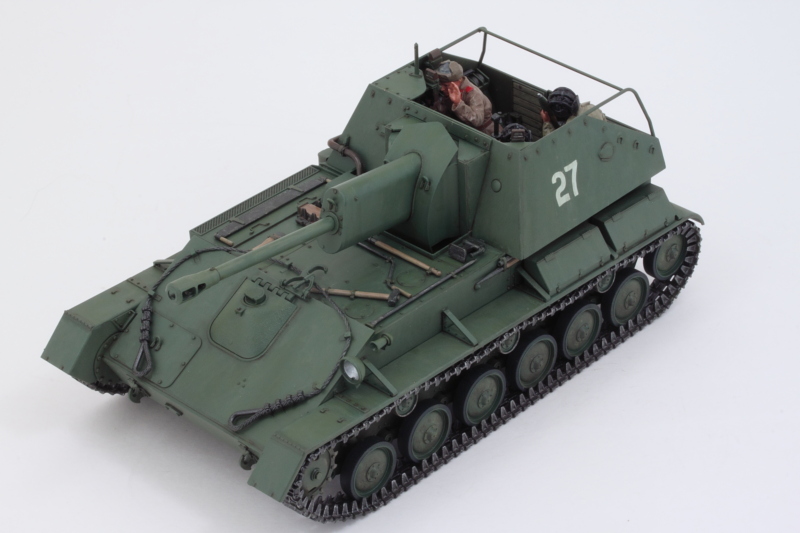
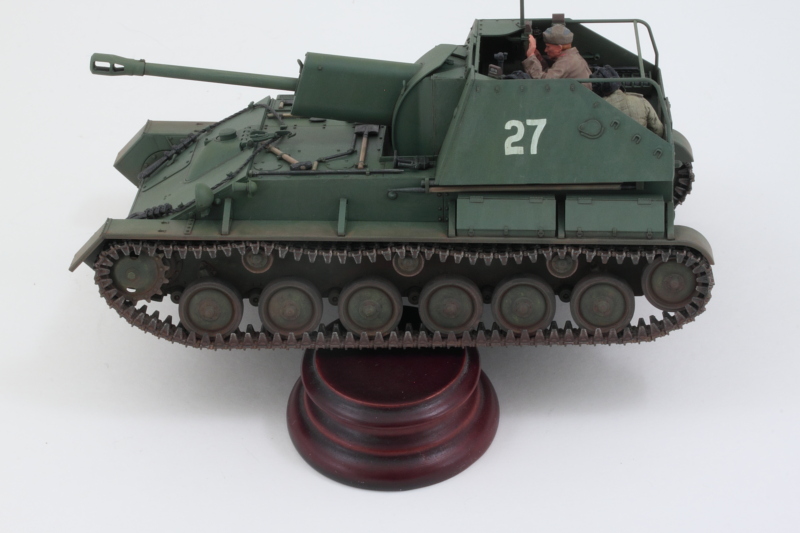
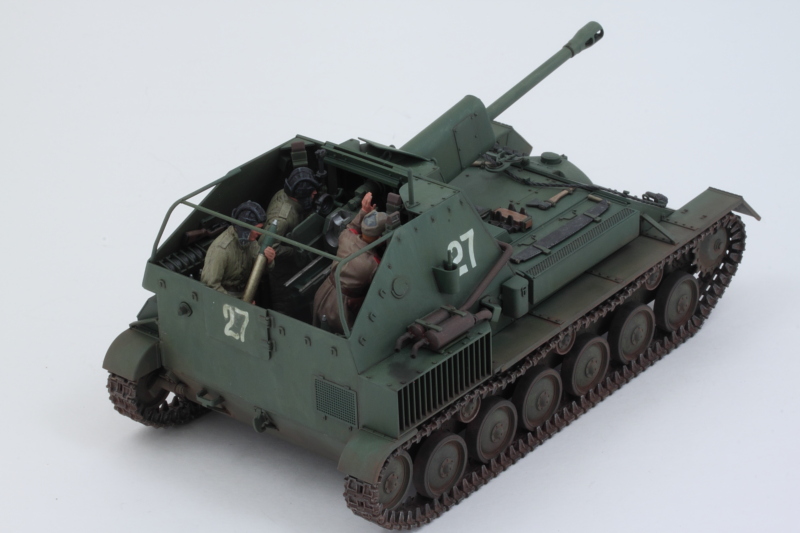
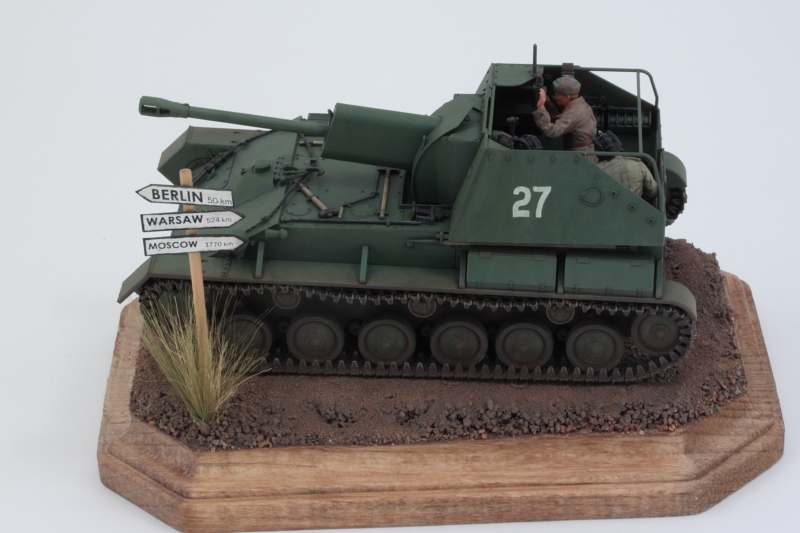
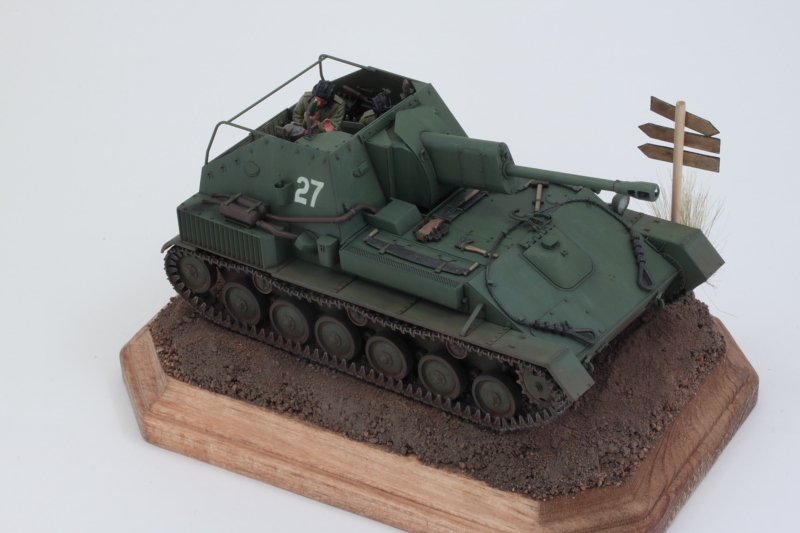
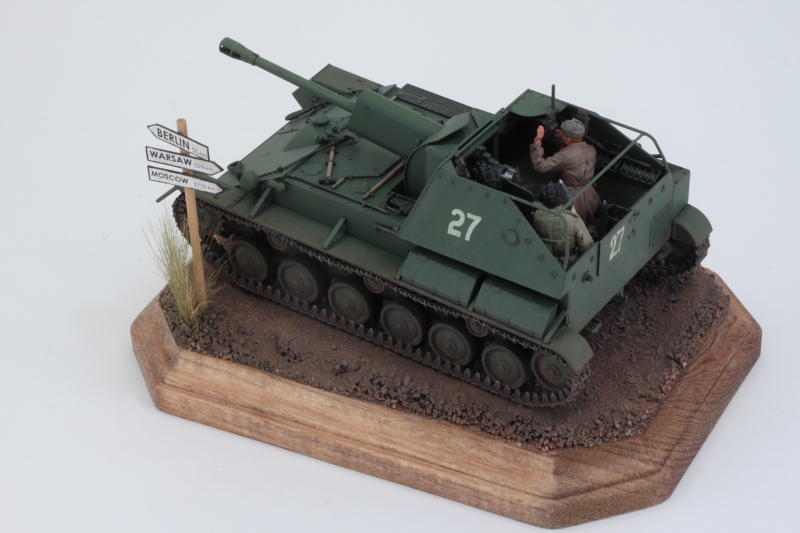
One step closer to the finish line! :)
Bill Plunk
Posts: 1245
Joined: Wed Sep 28, 2022 10:18 pm

Completion 04-09-2016

Post by Bill Plunk »

Put the final touches in on this project today. First order of business after making some minor adjustments to the dot filter and pin wash treatment was a dose of MM Lusterless Flat.

Image

The pigment weathering objective was to get the tracks/suspension and hull to match up with the base, so to that end I applied some Mig Dark Mud pigments. I applied it as a wet mix using ordinary tap water as the carrier with a drop of liquid dish soap added to break the surface tension.

Image

After it had air dried, I used a stiff bristled brush to remove the excess. I had to be careful not to be too harsh on the track runs, especially the top portions, and had to reattach a couple spots that came loose in this process.

Image

More adjustments were done with a combination of wet and dry q-tips. For the tight spaces around the road wheels where the q-tip couldn't fit, I used a small round sable brush and clean water to make changes where needed.

Image

The end result looks good, but the ultimate check was with the base.

Image

Image

That meant I could turn to the last couple of details remaining. I used some black artist pastels to add some more exhaust soot and staining to the right side of the hull.

Image

The headlight finally got its clear lens as well. I installed it with liquid glue, then brushed a light coat of Future over the front. Once that was dry and protecting the clear part, I ran some thinned green around its edge so that it would look integrated with the rest of the housing.

Image

That meant it was time for the walkarounds to check for any other small things that I might have missed.

Image

Image

Image

Image

Image

Image

And then the placement on the base!

Image

Image

Image
Bill Plunk
Posts: 1245
Joined: Wed Sep 28, 2022 10:18 pm

Publication April 2018

Post by Bill Plunk »

This build is featured in the April 2018 issue of FineScale Modeler:

Image

Image
Post Reply